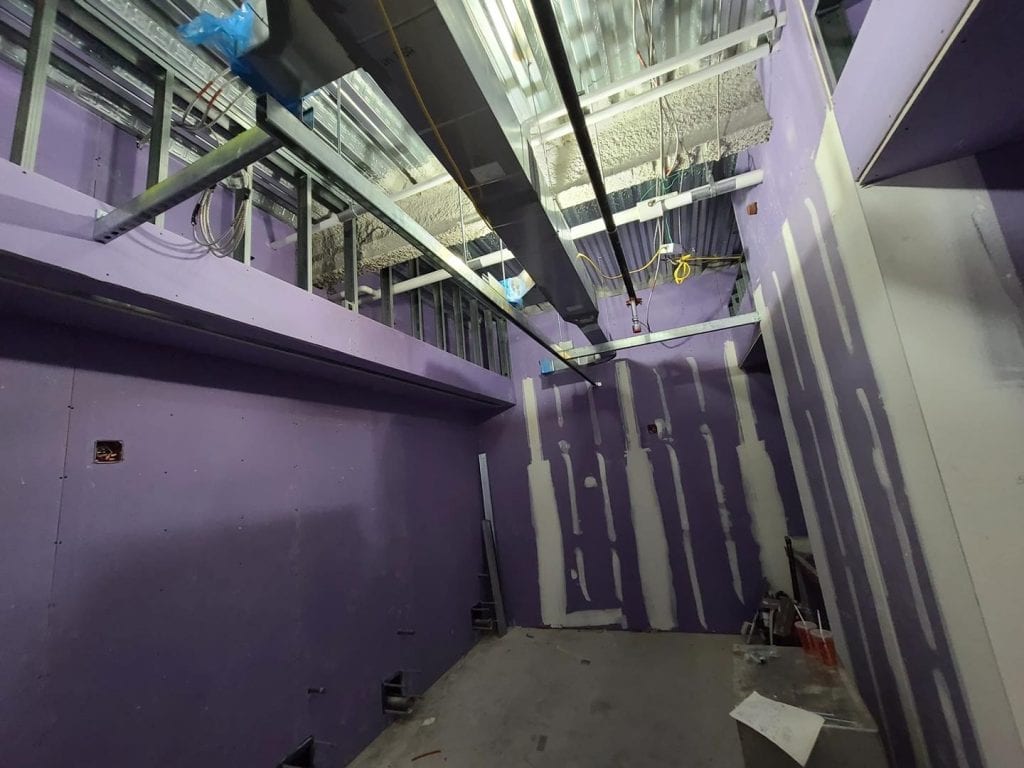
If you need to know how to install a toilet partition, this will guide you through the general process. Though different brands have their own way of manufacturing their partitions, there are general standards they all adhere to, making things easier on installers.
The project will be more or less labor-intensive depending on whether or not you’re replacing an existing unit or installing from scratch. If you’re replacing an existing structure, you can measure everything out and simply reinstall the new panels and hardware without worrying about mounting to the floors, walls, or ceiling. All that work would already be done.
But if you’re starting from scratch, there’s a particular order you’ll need to go by so you can reap the best results. Due to the variety of styles, brands, and options, we’re going to bypass all kinds of details that might be particular to whichever unit you’ll be installing. There are just too many variables, options, and accessories to be comprehensive in one post.
To compensate for that, we’ll link to instruction download pages.
Step 1 What are you Installing?
Before you start stretching tape and chalk lines, you’re going to have to figure out what you’ll be installing. Measurements you’ll be making in preparation to start the project will hinge on what style of unit you’ll be installing and what the manufacturer’s installation instructions are going to detail- particularly dimensions.
Ideally, you’ll have the manufacturer’s instructions alongside all of the panels and parts that are awaiting installation.
Step 2 Prints and Installation Instructions
All manufacturers will provide you with a set of instructions on how to install their toilet partitions, and some companies such as Thrislington have prints available for download, but you may need to install a .dwg or .pdf viewer to check them out. Though prints are handy for measuring things out, they won’t necessarily tell you how to install the unit.
If you’re not accustomed to reading prints, take your time, and familiarize yourself with how the drawing is constructed. When grabbing measurements off a print to start laying out your space, make sure that you notice where the dimensions are being taken from.
It’s easy to make a mess out of things if you don’t recognize inside or outside dimensions. You could find yourself an inch or two off on an overall dimension if you’re not careful.
Mark your Anchor Points
With prints in hand, begin to layout the partition space using your tape measure and a snapline. It’s easiest to begin by measuring out from the walls, then snapping a line to represent where the assembly’s outer face will go.
Follow up by establishing the assembly’s center. In most common types, deduct 5/8” from the assembly’s overall dimension, then snap your line.
From here, you can mark where footers will be installed on the floor, brackets on the walls, or where the unit will be fastened to the ceiling (if it’s a floor to ceiling or ceiling hung unit)- in other words, mark your anchor points. It could be helpful if you have the panels there waiting, so you could use them to ensure that you’re measuring things out correctly before drilling any holes.
Overall, this is the most important part of the process, so take your time and make sure everything is good. The end result should be an outline of the sides, front, and where the dividers will go for floor mounted units.
Next, snap chalk lines up the walls in line with the lines on the floor to denote where the wall and divider panels will go. These will assist in the wall bracket installation.
Drill for Mounts and Brackets
Using what the manufacturer has specified, begin to drill holes according to the given instructions. The most important of which will be holes for the floor mounts (particularly if it’s a concrete floor) or through steel beams in the ceiling if it’s a ceiling suspended unit.
Mounting Unistrut For Suspended Units
Unistrut is a type of rail system designed to hold and manage weight suspended from a ceiling. This rail system is used to hold firm ceiling mounted units. Whatever layout you’ve created on the floor can be used as a guide to construct a Unistrut rail system’s shape and size, then be mounted to the overhead beams or joists.
Unistrut rails are not just necessary for ceiling hung units but come in handy for floor to ceiling units as well.
Erecting Panels
After all of the prep work is complete and mounting holes are drilled out, it’s time to hang your panels. Your first panels should be the inner walls and pilasters, followed by doors.
Hanging your first couple of divider panels will be made easier if you can find something that’s the appropriate height from the floor to rest the panel on while mounting. You’ll begin to see the assembly take shape as you go.
Afterward, attach the headrail if the type you’re installing requires one, and add on all of the various fixings that remain.
Manufacturer Prints and Instructions
To provide you further assistance, I’ve compiled a list of manufacturers who make their toilet partition assembly information available online.
Thrislington – A program that opens up .dwg’s is required to view the prints made available at Thrislington. Autodesk has a free viewer available for download. All that is required is to set up a free account. Fortunately, it only takes a moment to figure out how it works.
Privacy Plus – They provide detailed installation instructions via a .pdf.
ASI Global Partitions – They provide a combination of prints and instructions via .pdf.
Hadrian – Hadrian has all kinds of info available, including .dwg files, instructional videos, and also .pdf’s.
Flush Metal – Flush Metal provides instructions that you can view as you browse through their product line.
Scranton Products – Scranton Products has a well-organized installation resources page made up for every one of their partition lines.
Ironwood – Ironwood doesn’t have any detailed installation instructions available online. However, they do have plenty of spec sheets, giving you the information that you’d need to get the ball rolling.
AAMCO – AAMCO provides .pdf’s for all of their partition units.
General Partitions – General Partitions have .pdf’s available for every series of their product line.
Bradley – Bradley does provide .pdf’s with installation instructions and material information, but finding them is an issue. A quick message to customer service asking for the information you seek will save you a lot of time.
Bobrick – Bobrick will provide .pdf’s upon request, but they are unique in that they will work with you via their Digital Spec Builder. The builder assists in configuring projects, specification downloads, compile BIM files, and more.
Rather hire a professional? Give us a call today or reach out using our contact form. We’re professional toilet partition installers with over 30 years of experience installing construction specialties.